Gluten-Free Artisan Potato Loaf

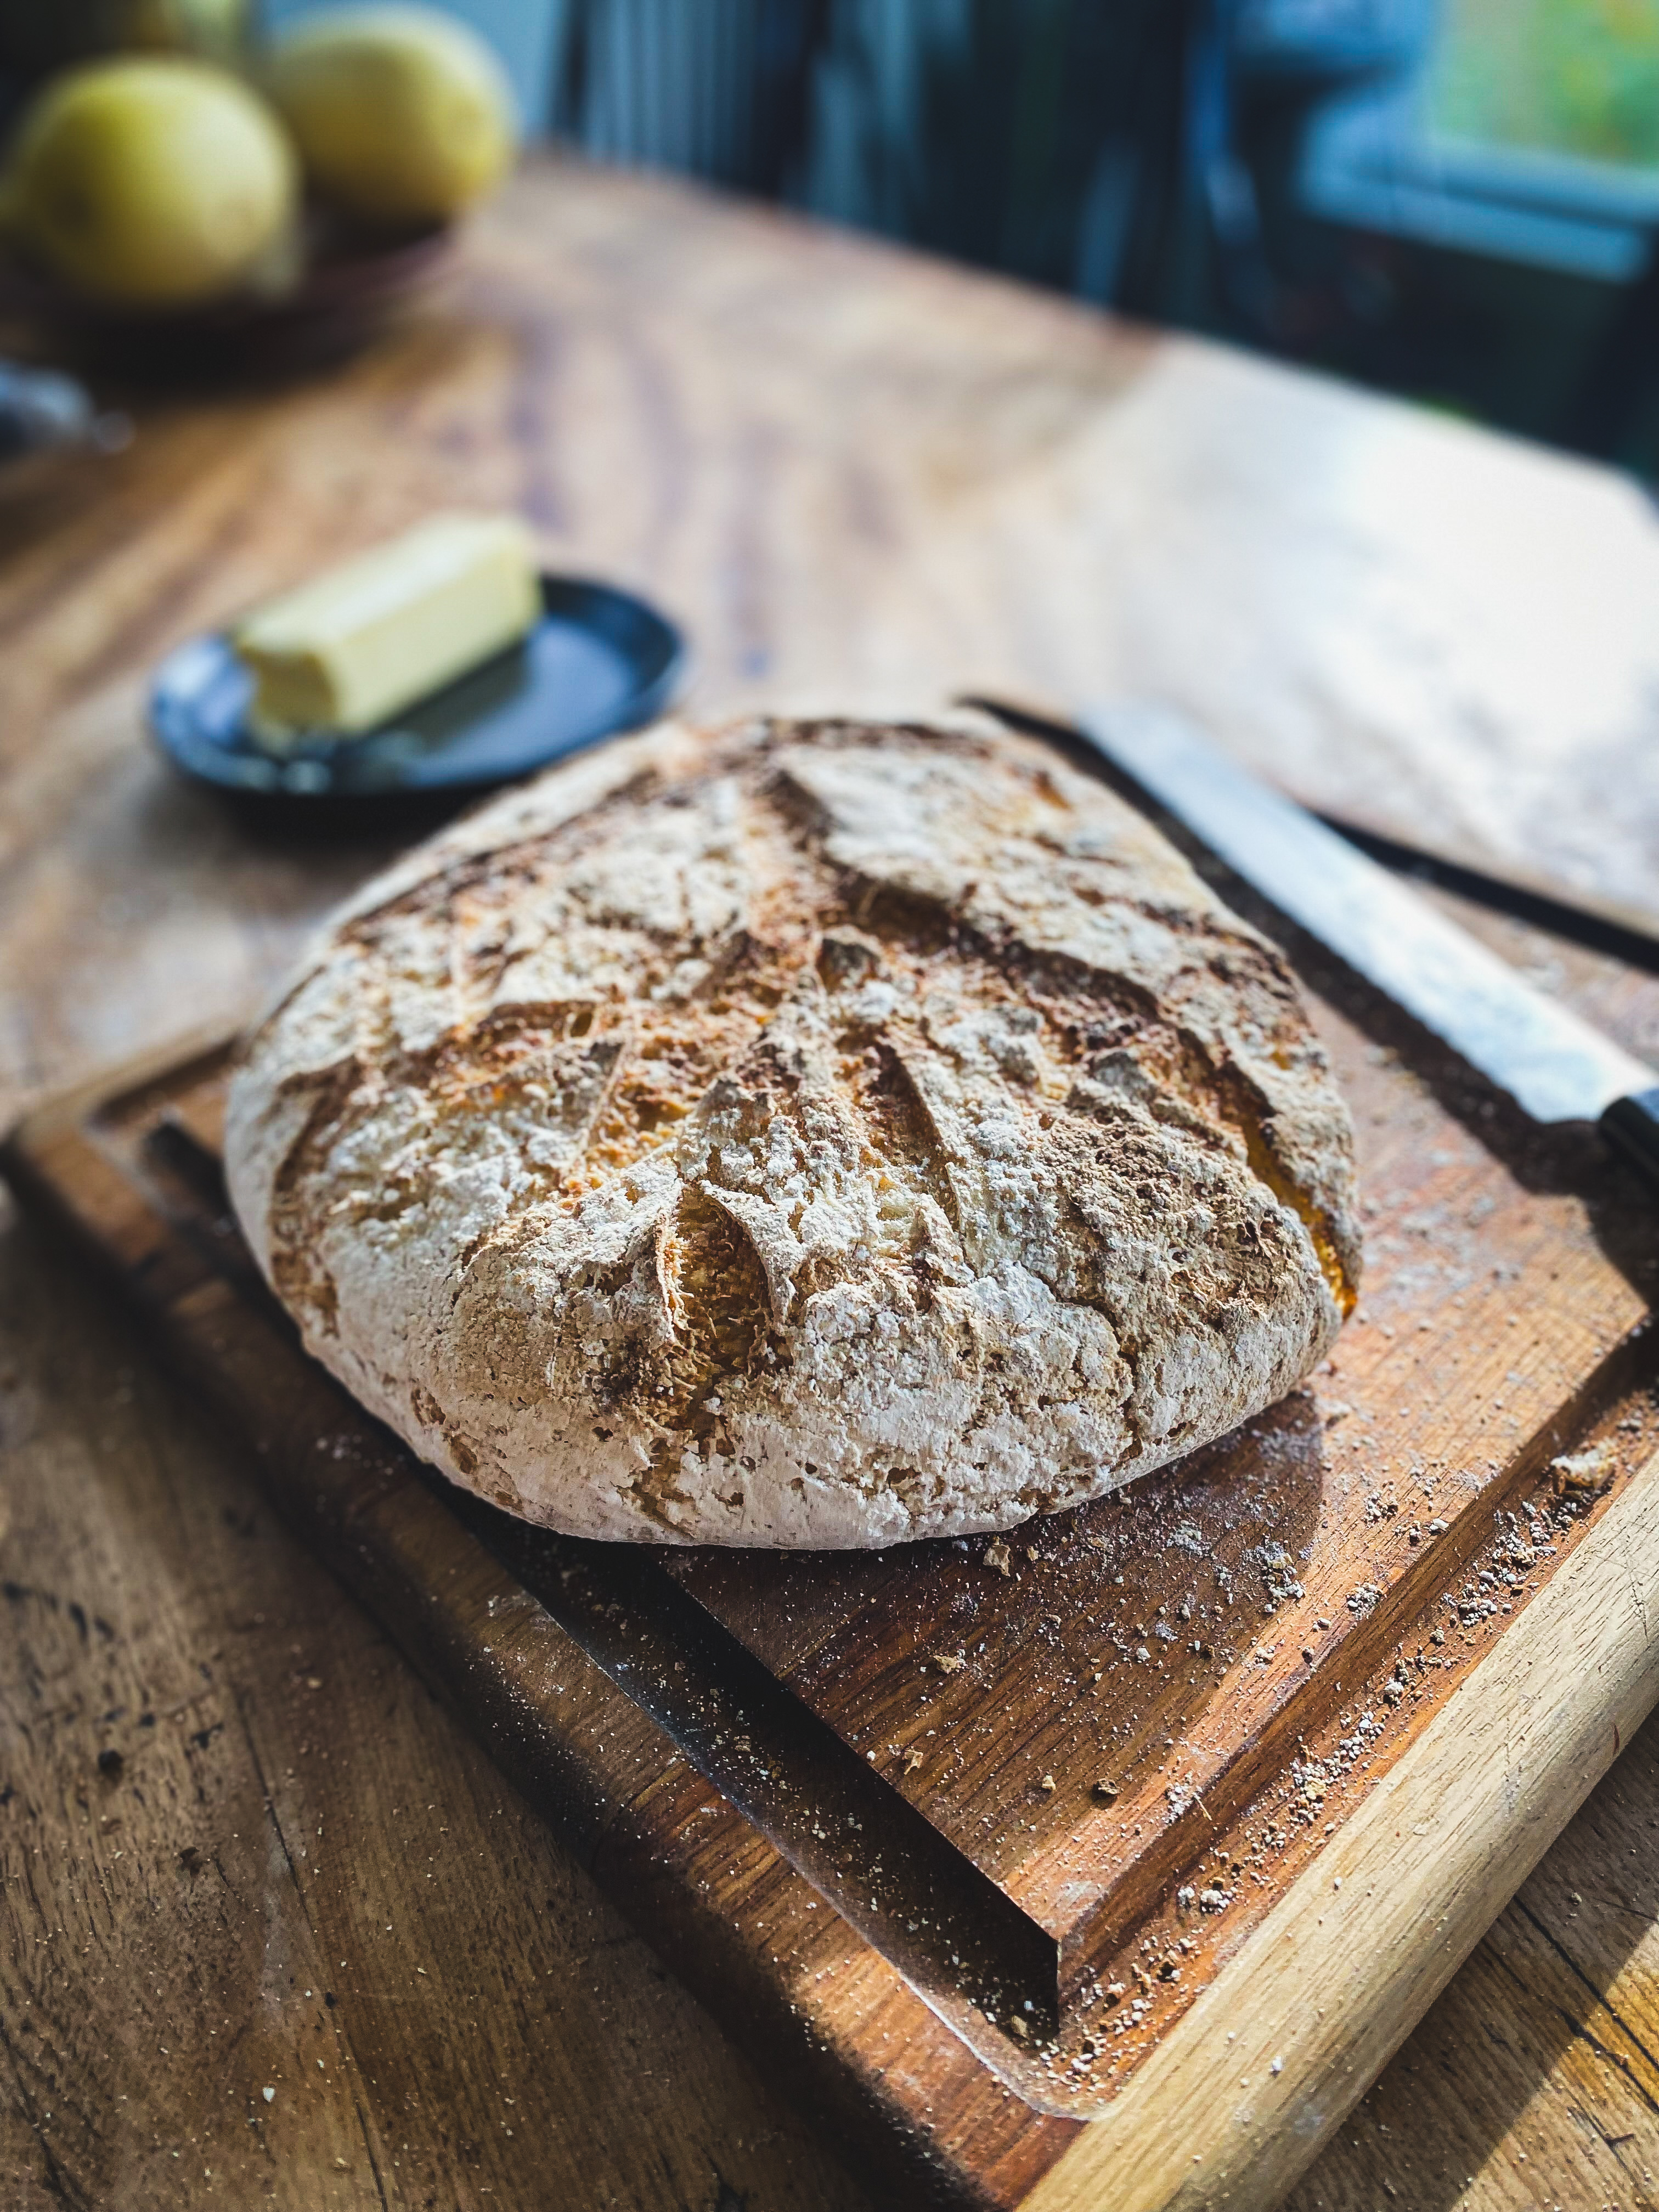
Hi Bakers, This bread is so much like the artisan breads I used to love eating with wheat that I can't believe it. Hearty and crusty on the outside but with a nice soft chew inside. I used an old trick for making bread stay moist and added mashed potato to a gluten-free artisan bread recipe. This bread had a better flavor and stayed moist longer than the same recipe without potatoes. I used a gold potato for this recipe, but other varieties should work well too. The bread is best the day it's made, but you can save it in the fridge for a longer shelf life. To keep even longer, store sliced in the freezer. A few days old, this bread would be incredible for any dish where you need a sturdy bread. Think stuffing, croutons, and bruschetta. Or toasted and dunking into a bowl of soup. Enjoy! ~Carolyn
Gluten-Free Artisan Potato Bread
Adapted from Cooking with Coia's recipe for gluten-free bread
Makes one 8” loaf
Dry ingredients
1 packet rapid-rise yeast
1 teaspoon granulated sugar
3 3/4 cups Caputo gluten-free flour
1/4 teaspoon baking powder
1 3/4 teaspoons salt
Wet Ingredients
1 tablespoon psyllium husk gel**
400 grams warm water (400ml)
1/3 cup peeled gold potato, mashed fine
2 teaspoons olive oil
Measure out the warm water and then reserve a 1/2 cup to bloom the yeast. Add the 1/2 cup of water and sugar to a small cereal bowl, then sprinkle the yeast over the top. Mix well and let it sit for 5-10 minutes to ensure it’s bubbling. Set aside. If yeast doesn’t bubble, use newer yeast!
In a large bowl, whisk together flour, baking powder, and salt. Add psyllium gel, water, yeast solution, and mashed potato. Mix well. I use my hands, or a stand mixer also works. When you have a sticky ball of dough, mix in the olive oil. Form it into a ball and let the dough rest for 10 minutes covered. Gather the dough together and knead it a few times to make it into a large cohesive ball. Sprinkle with flour and let rise covered for 3-4 hours in a flour-coated bowl until doubled in size. Make sure the dough rises in a warm place. Preheat the oven to 450°F and move the rack to the middle position. Place a heat-safe lidded pot (I use a wide soup pot) into the oven and let it heat for 10 minutes. Remove the pot from the oven and carefully place pot on a heat-safe surface. Remove the lid and carefully transfer the risen dough into the bottom of the pot. Score the top of the dough with a very sharp knife. I usually make a shallow slash down the center and small slashes off it. Cook covered for 30 minutes. Remove the cover and cook for an additional 10 minutes. Broil on low for a few minutes to get a nice brown color on top. Watch the loaf closely, it will burn quickly! Let it cool on a rack until room temperature before slicing. Store the unused bread sliced in the freezer or in the refrigerator for a few days. Enjoy!
**Soak 1 teaspoon psyllium husk powder in 3 tablespoons of water and whisk together well. When the water is absorbed, measure out one tablespoon to use.

